CWMTWRCH
For private personal / educational use only. Strictly no commercial use of any kind allowed. Please do not use anything from here anywhere without asking first! Thank you.
Click on an image for a larger version. Feedback / comments / contact me here: GET IN TOUCH
Click on an image for a larger version. Feedback / comments / contact me here: GET IN TOUCH
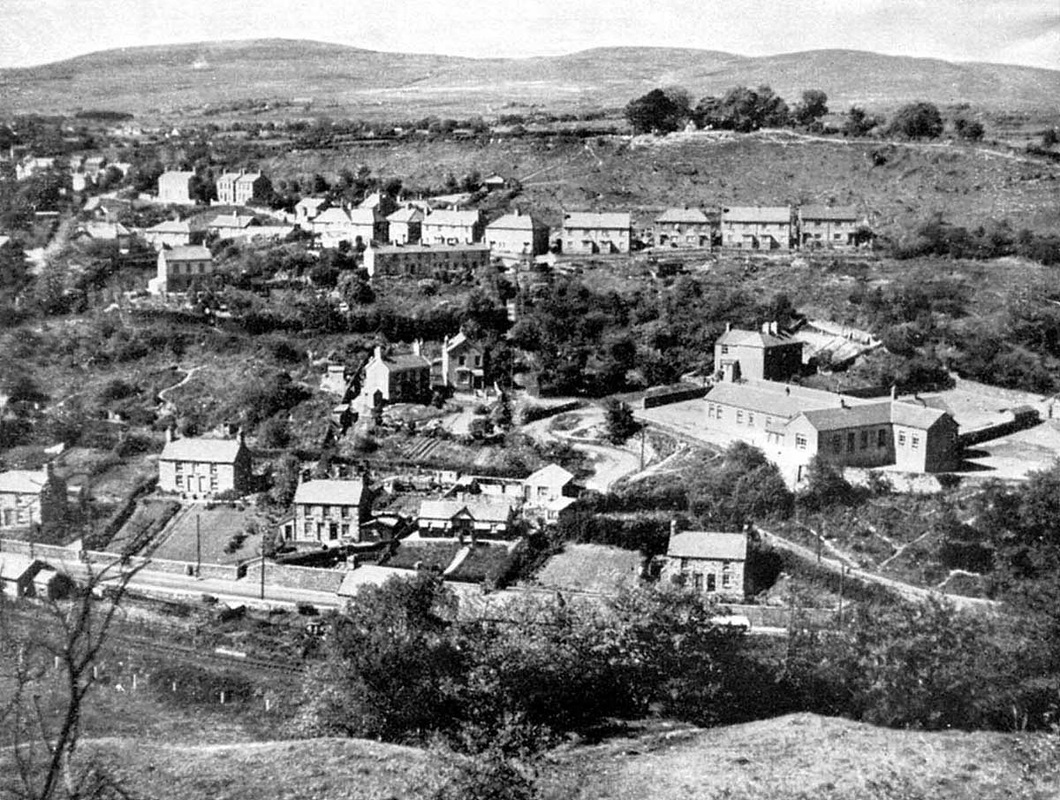
Cwmtwrch View (CT1)
Tro'rgleien. From a 1954 Ystradgynlais guide book (my collection).

Lower Cwmtwrch - Cwmtwrch Isaf (CT2)
From a postcard. Postmark probably September 1936.
Kindly lent by Tim Barrell.
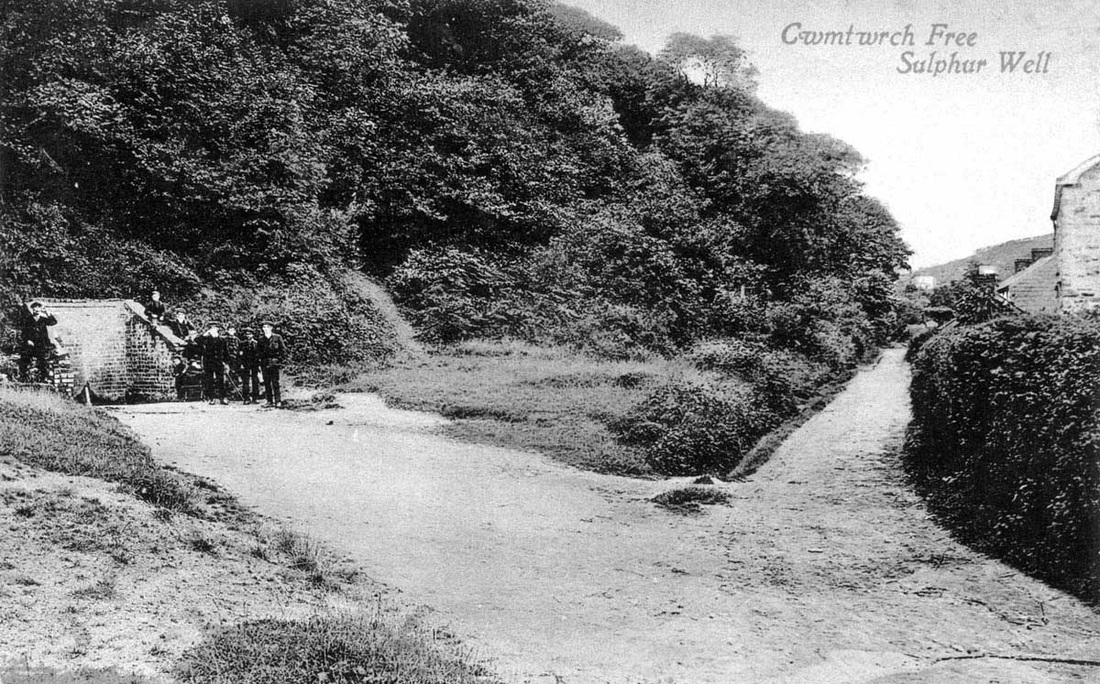
Cwmtwrch Free Sulphur Well (CT3)
From a postcard sent in the 1940s kindly lent by Tim Barrell.
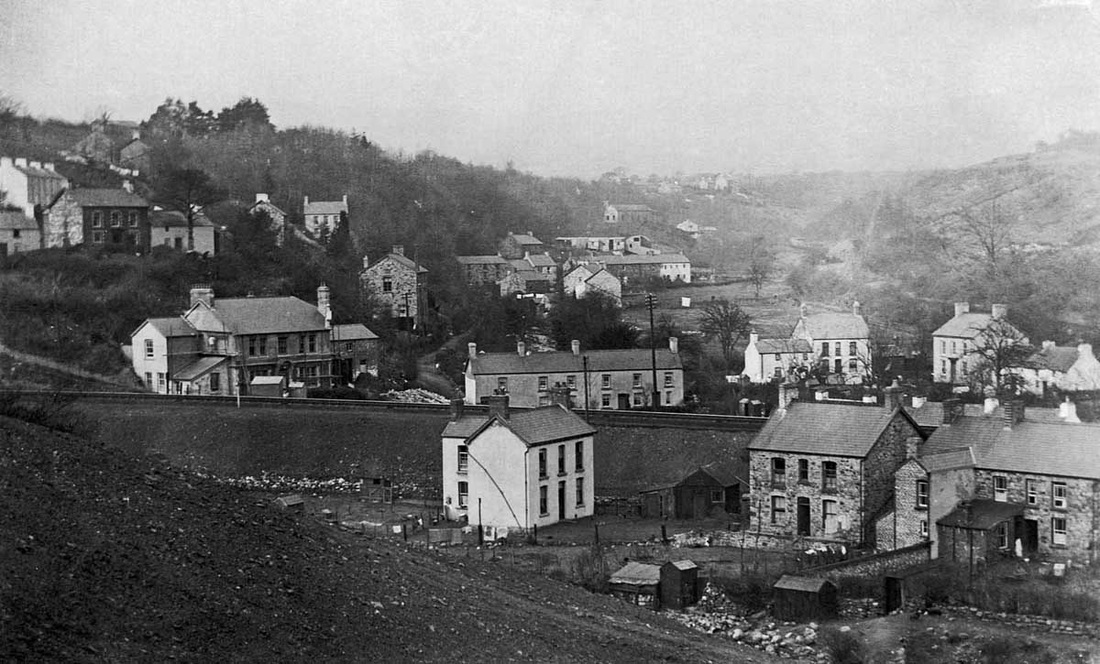
Cwmtwrch View (CT4)
From a pre-1918 postcard kindly lent by Tim Barrell.
Upper Cwmtwrch / Cwmtwrch Uchaf (CT5)
Berrington Arms on left of photograph.
Scan kindly provided by Linley Jenkins.

Lower Cwmtwrch / Cwmtwrch Isaf (CT6)
Phoenix Tinplate Co Ltd's Gilwen Works site; bridge foreground left is bridge to Rhiwfawr.
Thanks to John Owens for the information.
From a small 1955 photo generously donated by (& ©) Frank Haaf, Germany.

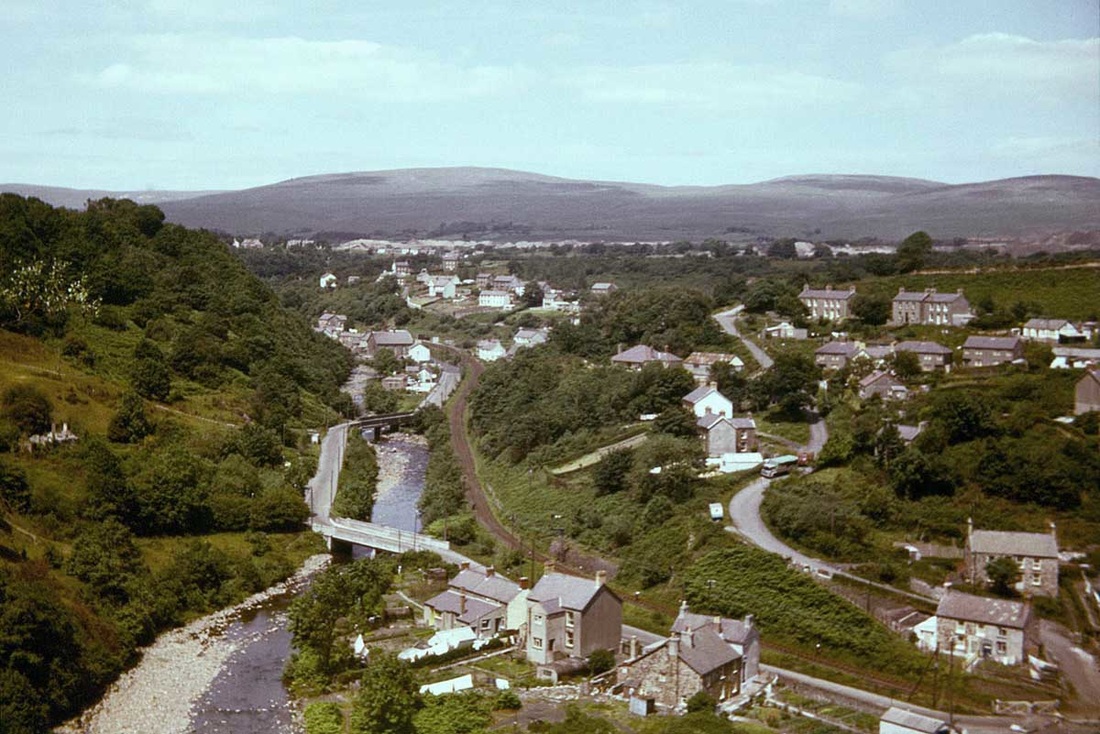
Lower Cwmtwrch / Cwmtwrch Isaf (CT7)
Bridge is to Rhiwfawr, large chapel is Beulah Chapel.
Thanks to Adrian Griffiths for confirming the above info.
From a small 1955 photo generously donated by (& ©) Frank Haaf, Germany.

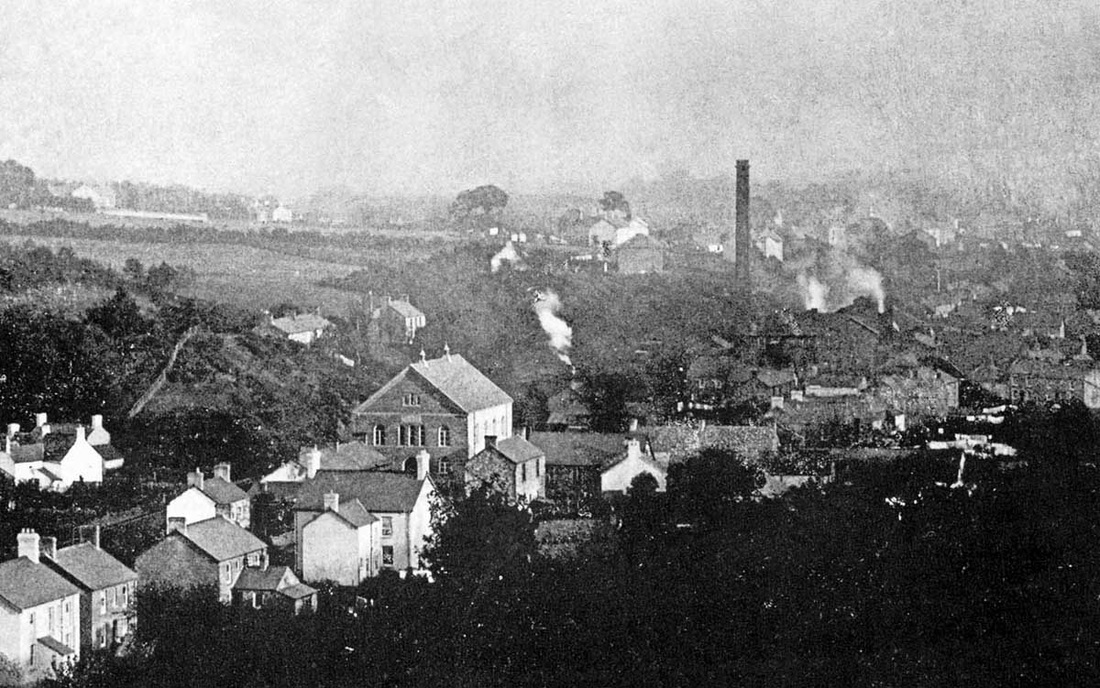
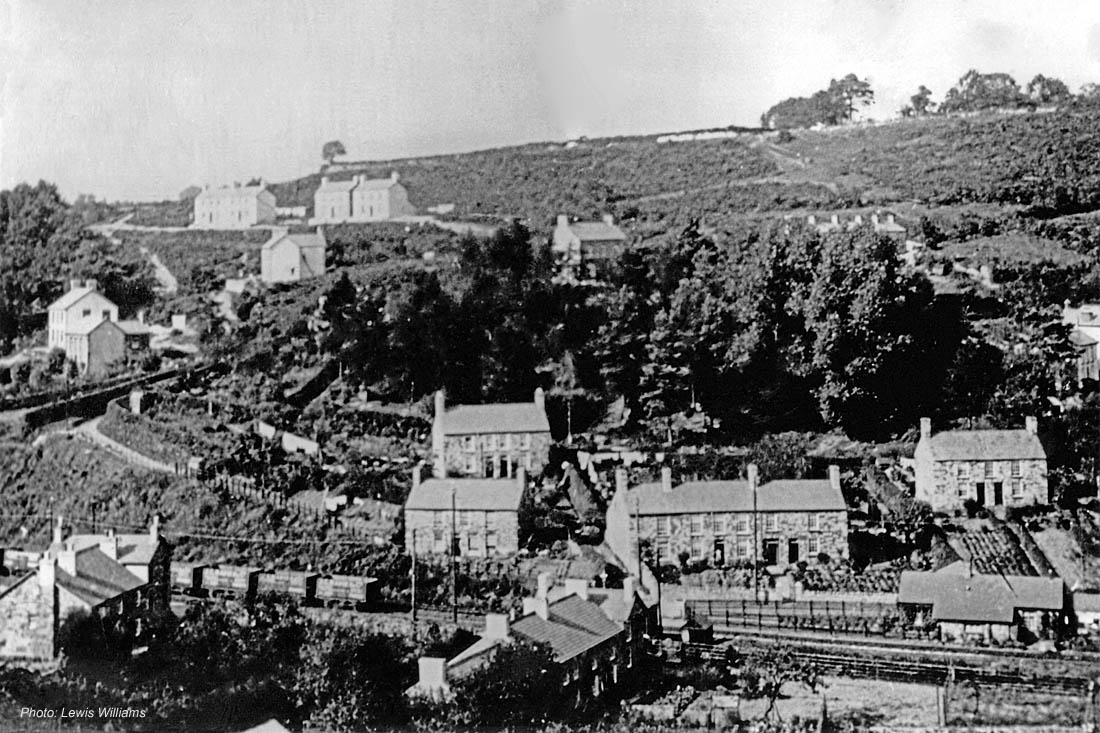
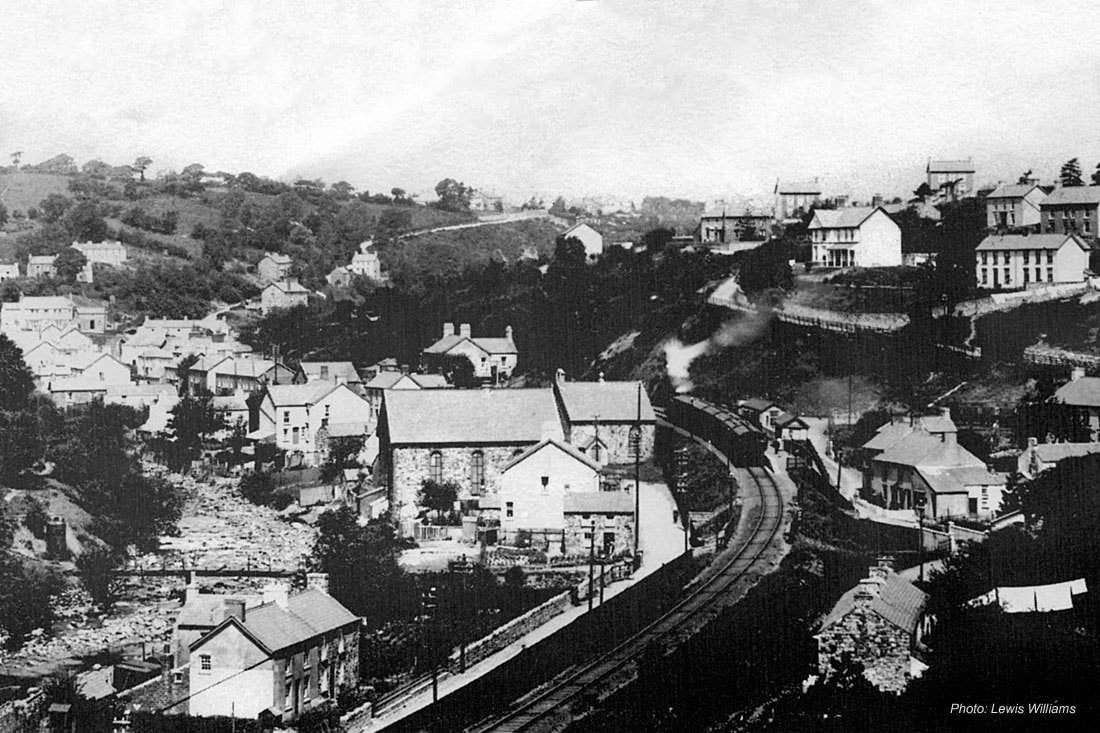
Cwmtwrch, General View (CT8)
From a postcard sent January 1910, kindly lent by Tim Barrell.
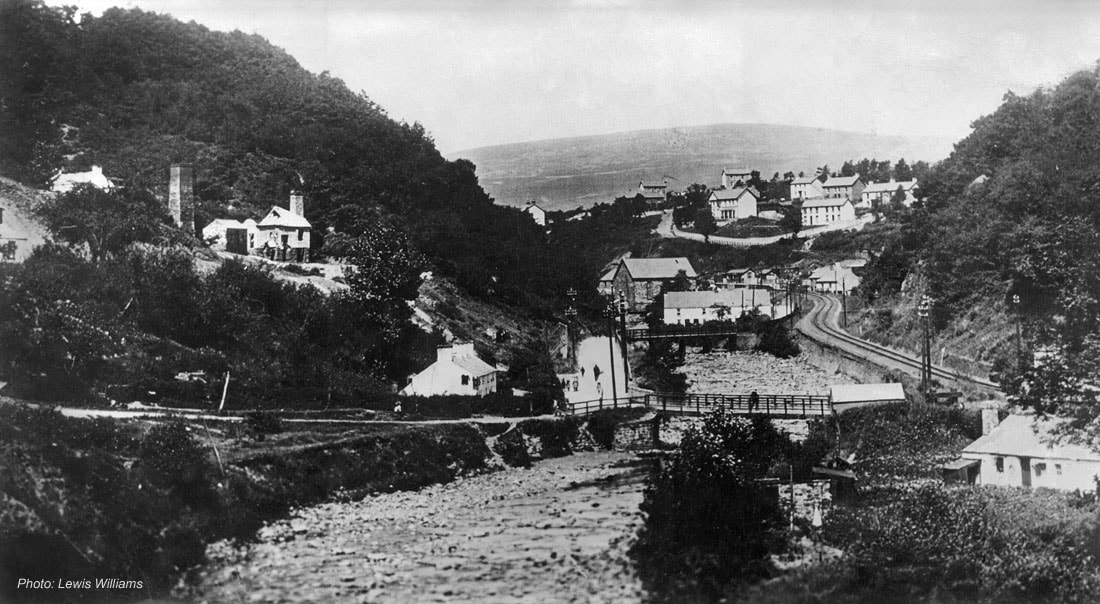
Cwmtwrch, General View (CT8a)
Photograph by Lewis Williams.
Image kindly provided by Catherine Howells.
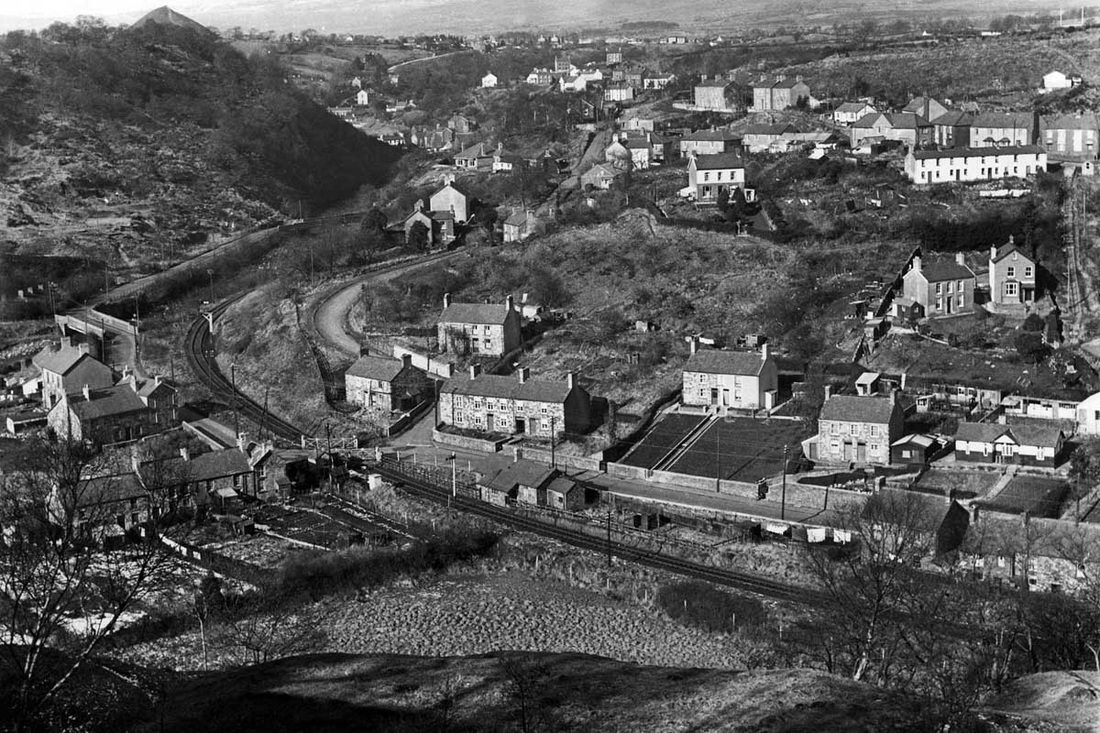
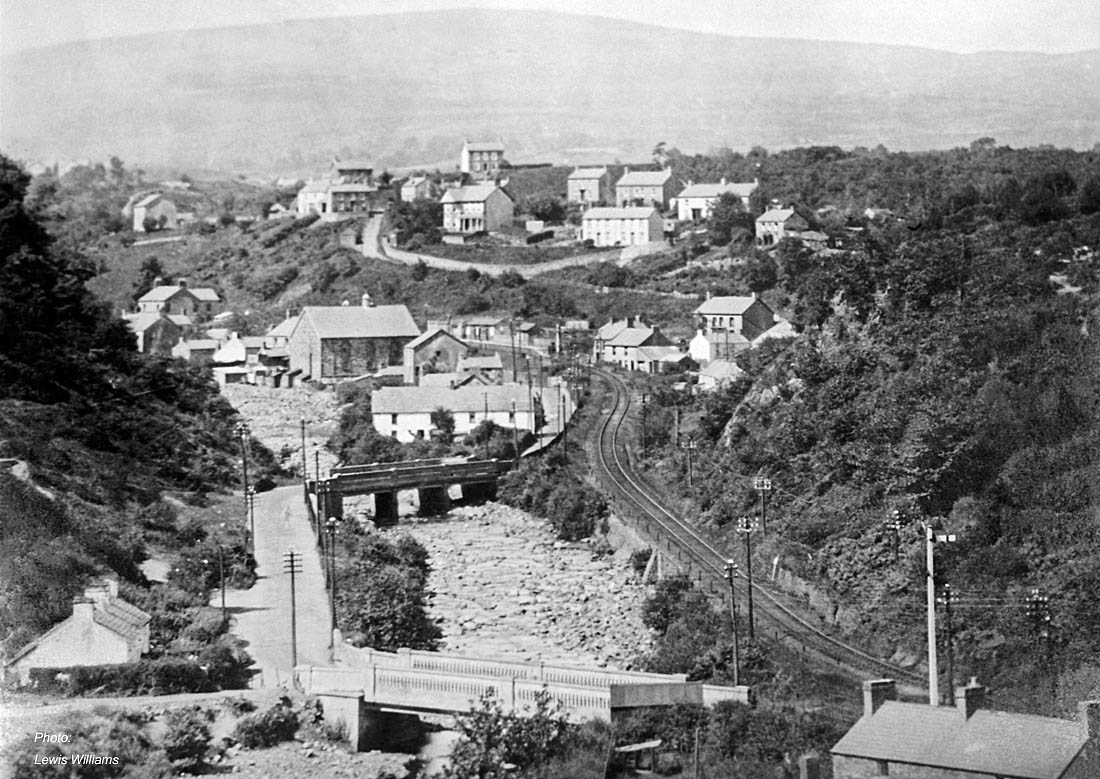
Cwmtwrch, General View (CT9)
Scan kindly provided by (& ©) Adrian Griffiths from a photograph he took in the 1950s.

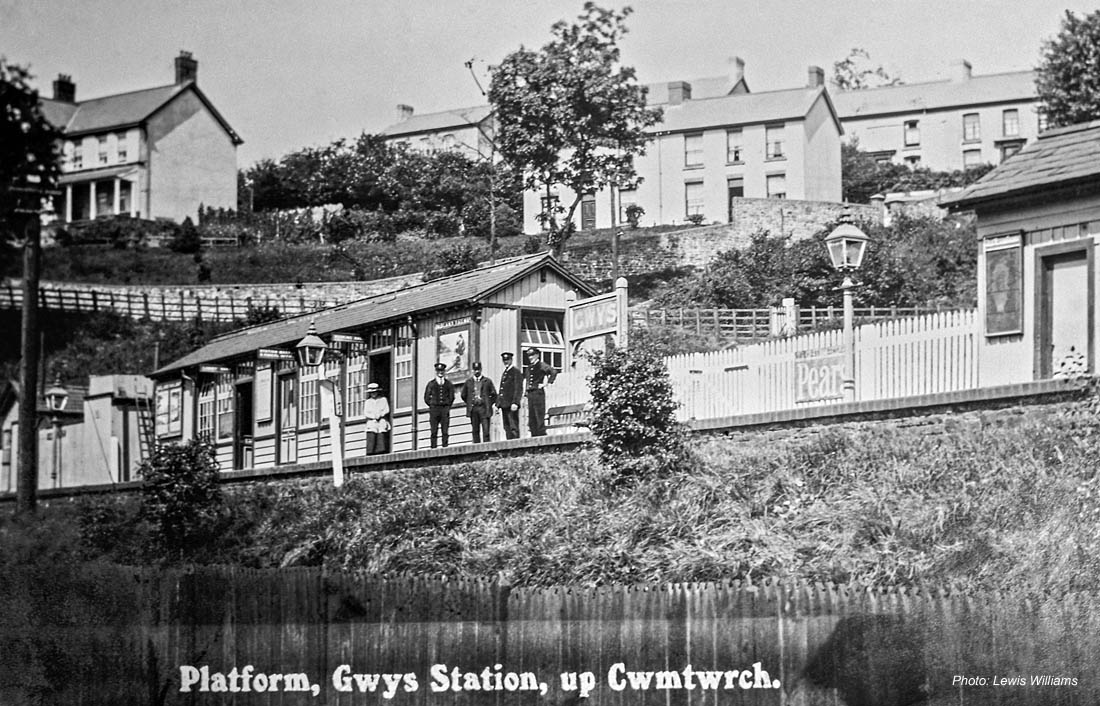
Gwys Station, Cwmtwrch (CT10)
Closed to passengers 1950? Goods yard open until 1963. From a postcard.
Scan kindly provided by Adrian Griffiths.
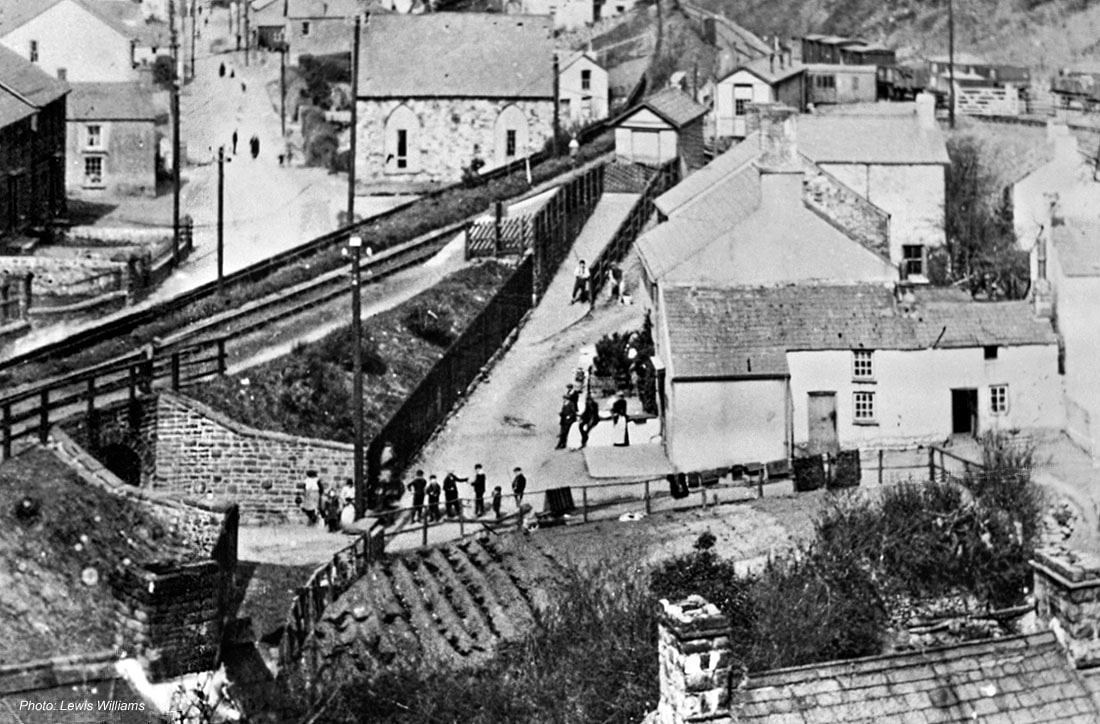
Gwys Station, Cwmtwrch (CT10a)
Photograph by Lewis Williams.
Image kindly provided by Catherine Howells.
Gwys Station, Cwmtwrch (CT10b)
Photograph by Lewis Williams.
Image kindly provided by Catherine Howells.
Gwys Station & Ebenezer Chapel, Cwmtwrch 1914 (CT10c)
From a postcard. Scan kindly provided by Adrian Griffiths, information by Catherine Howells.
Photograph by Lewis Williams, 1914.

New Tredegar Arms, Cwmtwrch (CT11)
From a postcard. Photograph by Lewis Williams.
Scan kindly provided by Adrian Griffiths.
Cwmtwrch, before 1911 (CT11a)
Photograph by Lewis Williams.
Scan kindly provided by Catherine Howells.
Cwmtwrch, new bridges (CT11b)
Bridges opened August 1915. Photograph by Lewis Williams.
Scan kindly provided by Catherine Howells.
Cwmtwrch Train (CT12)
Train passing Gwys Station platform.
Scan kindly provided by (& ©) Adrian Griffiths from a 35mm slide he took mid / late 1950s.

Cwmtwrch Train at Upper Gates (CT13)
Train at the upper gates Cwmtwrch.
Scan kindly provided by (& ©) Adrian Griffiths from a 35mm slide he took mid / late 1950s.

Upper Gates, Cwmtwrch (CT14)
Scan kindly provided by (& ©) Adrian Griffiths from a 35mm slide he took mid / late 1950s.
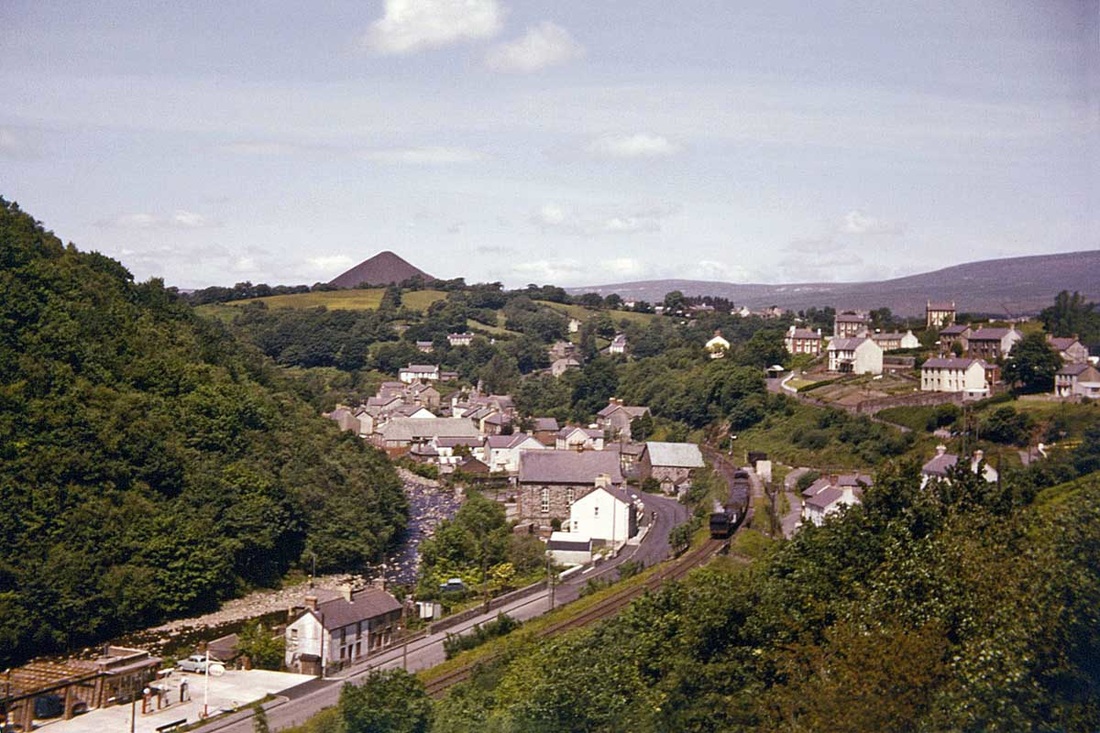
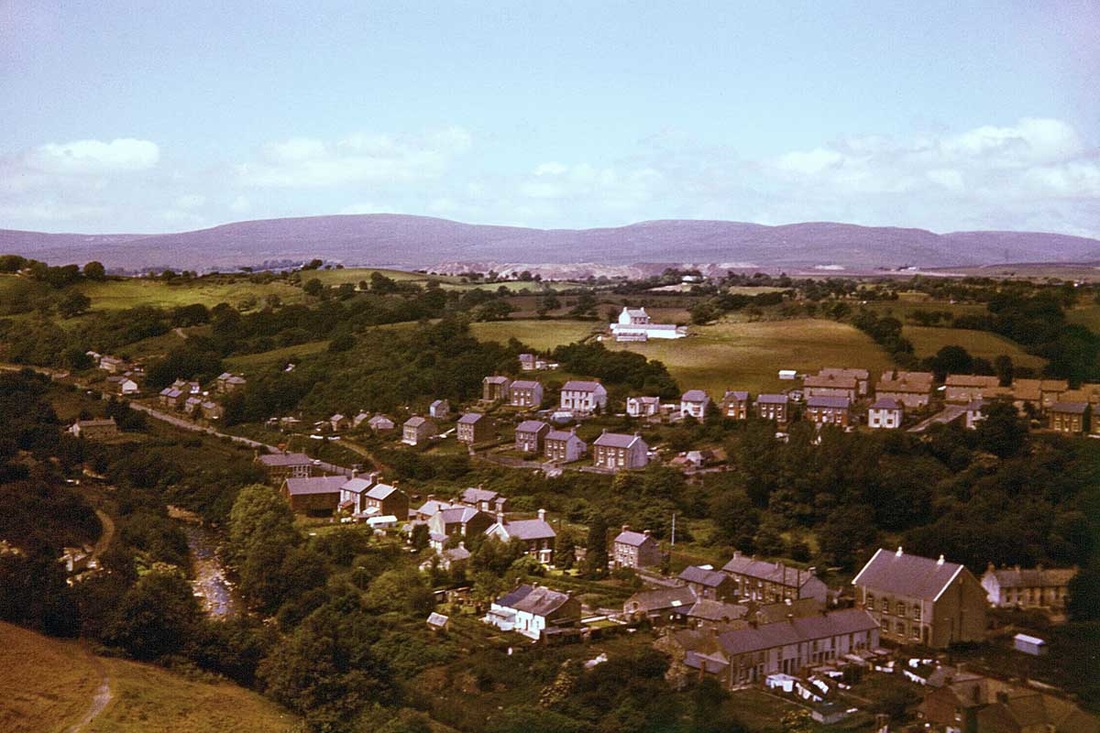
Looking Towards Cwmtwrch Uchaf (CT15)
Scan kindly provided by (& ©) Adrian Griffiths from a 35mm slide he took mid / late 1950s.
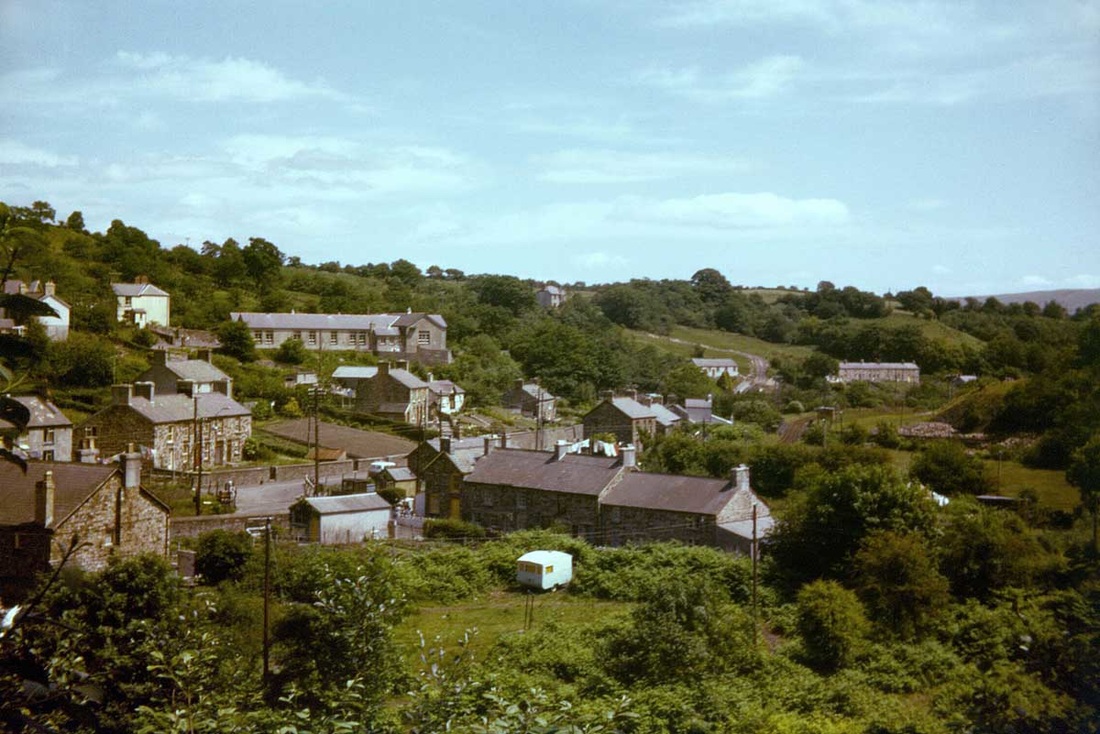
Cwmtwrch Isaf (CT16)
Looking towards Maespica.
Scan kindly provided by (& ©) Adrian Griffiths from a 35mm slide he took mid / late 1950s.

Tro'rgleien School, Cwmtwrch (CT17)
Scan kindly provided by (& ©) Adrian Griffiths from a 35mm slide he took mid / late 1950s.
Tro'rgleien School, Cwmtwrch (CT17)
Scan kindly provided by (& ©) Adrian Griffiths from a 35mm slide he took mid / late 1950s.
Tro'rgleien School, Cwmtwrch (CT18)
Scan kindly provided by (& ©) Adrian Griffiths from a 35mm slide he took mid / late 1950s.
